So this amazing photographer asked me to do a styled wedding shoot with her. I'm so honored to have been a part of this! So much fun planning and making everything, I mean, who doesn't love getting to plan another wedding!
I absolutely adore how natural Chelsie's photography is, the gorgeous natural lighting and unposed look of her subjects, it's just stunning! Check out her website here:
Chelsie Moreland Photography. So psyched to have been part of this (did I mention that already :-))!
And I have to give credit to the rest of the people who helped to make this happen: We had a great make-up artist,
Lacy Covey. My aunt and uncle let us use their beautiful land. Chelsie's husband let us use the horse trailer, Marxophone, and even their dining room table! And we had incredible models. Which I need to brag on a little more. Seriously, the models (my friends Andy and Kerri), were amazing. They worked in terrible conditions: heat,wind, bugs, no food for hours, and were incredibly helpful and patient. Andy let us borrow his beautiful phonograph and Kerri found her own dress and shoes to wear and they really made the shoot work. I mean, look how adorable they are:
 |
| Photo by Chelsie Moreland Photography |
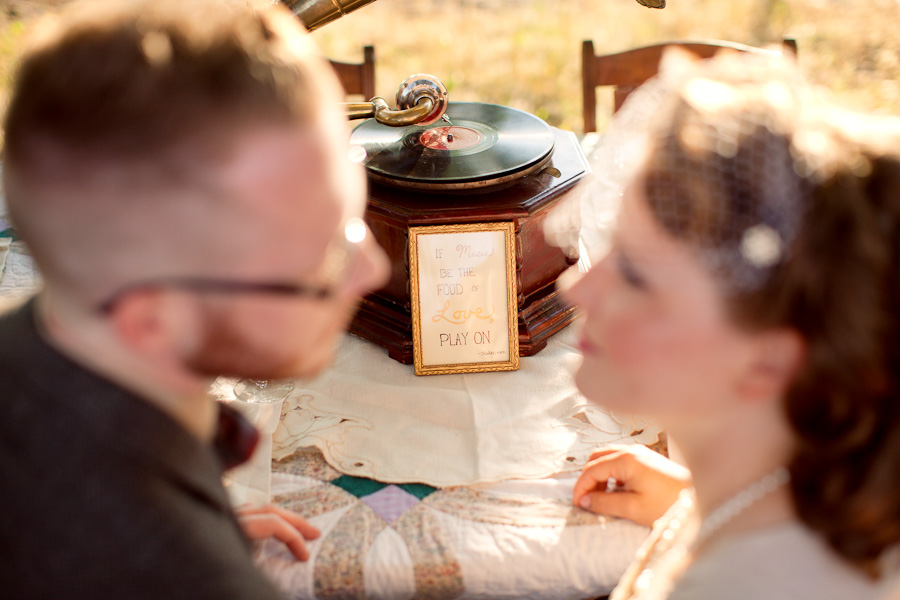
So, now for the rest of the photos, which Chelsie has graciously lent me. Please only copy and repost with her permission. I seriously want to post all of them, but I will try to narrow it down.
Tablescape
 |
| Photo by Chelsie Moreland Photography |
 |
| Photo by Chelsie Moreland Photography |
So I was going for a kind of old world music feel, with a little rustic Nebraska countryside thrown in of course :-).
Bouquet and Bout
 |
| Photos by Chelsie Moreland Photography |
 |
| Photos by Chelsie Moreland Photography |
I had lots of fun with vintage music sheets :-)
Birdcage Veil
 |
| Photo by Chelsie Moreland Photography |
Table Numbers, to find where you sit
 |
| Photo by Chelsie Moreland Photography |
Setting the Mood
 |
| Photos by Chelsie Moreland Photography |
Let's Eat
 |
| Photo by Chelsie Moreland Photography |
Fanfold pinwheel placecards and little bottles of homemade syrup for favors, 'cause guess what's for dessert?
Dessert
 |
| Photo by Chelsie Moreland Photography |
Waffles with fresh berries (and cake of course).
 |
| Photo by Chelsie Moreland Photography |
 |
| Photo by Chelsie Moreland Photography |
And yes, that giant flower on the wall is what our August Class is on (but the ones we make in class will be slightly smaller, that one is seriously 3 feet in diameter).
And a few more pretty pics to leave you with
 |
| Photo by Chelsie Moreland Photography |
 |
| Photo by Chelsie Moreland Photography |