Showing posts with label classes. Show all posts

Friday, September 19, 2014

September Newsletter!

Crazy month so far, but we are finally getting caught up! So thankful for all the wonderful brides and grooms that have chosen us to create pieces for their special day, and our first time at the Willow Tree Festival was amazing! Here is what's coming up:
September 23rd: Tiny Message Box/Diorama Class! Have fun creating tiny scenes and messages in boxes. Great for favors, Christmas decorations and advent calendars, and they are great way to brighten someone's day! All materials provided (including a bottle of my favorite PVA glue :)), $20. 6-9pm.
September 25th: 4-5 year old Children’s Art Class! $7.50 per class per child, $6.00 per child if you have more than one child in your family taking classes, all materials provided. 4:30-5:30pm 
September 29th:6-10 year old Children’s Art Class! $7.50 per class per child, $6.00 per child if you have more than one child in your family taking classes, all materials provided. 4:30-5:30pm 
October 25th: MPCC Party Decoration Class! Learn how to make tissue poms, fan-fold pinwheels, buntings, and more! Materials provided. 10:00am-12:00pm. Please contact Mid-Plains Community College Valentine Campus to sign up. 402-376-8033 
Please let us know as soon as possible if you are planning on taking an adult class, so that we know how many supplies to order in.
Our DIY this month is perfect for a fun fall decoration. Just find the cheapest and ugliest fake pumpkins you can. And check for sales, because even ugly pumpkins can be expensive.
You will need an old brush, a saucer, some glue, some old books you don't want any more, glitter (optional) and a pumpkin. Pour some glue in a saucer. Begin ripping up pages from your books, even more appropriate if they have a scary theme :). Brush glue (I used PVA bookbinding glue) on the back of your book page strip and glue down around your pumpkin. 
Continue gluing strips until your pumpkin is covered. Let your pumpkin dry for at least 1/2 hour. Next, coat the outside with a good quality decoupage medium (I used PPA).
Let that dry and coat one more time. Finally, spray it with a varnish sealer. I covered the ugly stem with glitter to coordinate with the glitter covered pumpkin I made, which is essentially the same process, just much messier :). Happy Fall!


Friday, September 14, 2012

September Newsletter


I have three words for you: Hot. Apple. Cider. I can’t wait to make some! Aren’t you excited for all of the wonderful things fall brings? We are! Lots of new fall and Halloween craft supplies in; crocheted scarves, winter headbands, and fingerless gloves in with more on the way; and Halloween tutus! So excited for fall and all of our upcoming classes too!
September 15th: Make Your Own Stamp Class! 2:00-4:00pm.
September 25th: 6-10 year old Children’s Art Class! $7.50 per class per child, $6.00 per child if you have more than one child in your family taking classes, all materials provided. 4:30-5:30pm (last Tuesday of every month except on holidays)
September 27th: 4-5 year old Children’s Art Class! $7.50 per class per child, $6.00 per child if you have more than one child in your family taking classes, all materials provided. 4:30-5:30pm (last Thursday of every month except on holidays)


October 11th: Milk Resist Class! Learn techniques for using milk resist and spray inks to create beautiful images that can be used for artwork, cards, gift bags, tags, backgrounds for scrapbook pages, etc. Class includes a wood mounted stamp, 2 bottles of spray ink, and various papers and materials for creating different projects. $30.00. 7:00-9:00pm
October 20th: Art Board and Frame Class! Create one of a kind custom frames for special photos and/or unique pieces of artwork for your home. You may bring your own photos to use, otherwise all materials provided (wood, glass, nails, picture hangers, paint, paper, glue, and embellishments), $26.00. 2:00-4:00pm
Our DIY this month are the cute treat bags we have had for sale in the shop in the past. Great for a small gift to cheer up someone’s day! First step: Pick out cute paper for your bag (the inside will show, so it’s nice to use double-sided cardstock). Step 2: Lay down the paper with the back side up, a piece of carbon tracing paper next, and finally the pattern on top. Step 3: Trace around the lines on the pattern (you can tell we’ve used this pattern a lot J). Step 4: Cut the outside edges out and the inside of the handle. Step 5: The other lines are your fold lines. Fold in along those lines. Step 6: Glue the side together and the flaps on the bottom. Step 7: Fill with delicious chocolates!

P.S. We also custom make these for party events, Valentine’s Day, etc. Filled with Ghirardelli chocolates, they are $6.00 each.

Monday, April 16, 2012

April Newsletter

Spring is here! And that means….flowers! We have a fun paper flower wreath DIY featured, but first, all our exciting news:
Thanks so much to the ladies who attended the Altered Book Class on April 10th, you guys did awesome! 
April 21st: Intro to Scrapbooking Class! Been thinking about starting a scrapbook, but just don’t know where to begin? We will introduce some tools and techniques and finish one page layout. Please bring 1-3 photos that you want to use. $20.00 (paper trimmer, adhesive, paper, and embellishments included) 2:00-4:00pm
April 26th: 4-5 year old Children’s Art Class! $7.50, all materials provided. 4:30-5:30pm
April 27th: 6-8 year old Children’s Art Class! $7.50, all materials provided. 4:30-5:30pm
May 3rd: Spool of Kindness Class! Altered art wooden spools with messages/greetings wrapped around and held in place with an enclosure. Perfect way to brighten a day! $15.00, all materials included. 7:00-9:00pm
*We are not scheduling a repeat class for the month of May, but if you are interested in one of the classes we have had in the past and know of 2-5 others interested, please let us know and we will schedule a class for your group.

Our featured project this month is a springy paper wreath with paper roses on it. Start with an extruded (rounded edges) styrofoam wreath in whatever size you like. Rip out quite a few book pages from an old book that is not valuable to you (can be found at a thrift store or garage sale). Begin ripping the pages in small strips lengthwise so that you have long but skinny strips (the wider the strips, the more your pages will wrinkle). Using PPA glue, brush glue on the back of a strip of paper and wrap it around the wreath. Keep tearing strips of pages and gluing until you have covered the entire wreath. Wait for an hour for it to dry thoroughly. Then brush PPA over the top of the entire paper-covered wreath. Let it dry. While it is drying, make your paper roses. I made some from cardstock and some from book pages (cardstock is easier, as the book pages rip easily). These are the paper roses I demonstrated at the library and have posted a youtube video on facebook and the blog on how to make them if you prefer to watch it done. Cut a circle out of the paper (about 4-6 inches) and beginning on one side cut a spiral shape into the circle, leaving a small circle (1-2 inches) in the center of your spiral. Next, begin rolling the tail of your spiral in until you reach the middle. Let it go. After it loosens to your desired size, put a dot of PVA glue on the circle in the middle glue the rest of the rolled rose to it. Make as many roses as you want on your wreath. Wrap ribbon or paper raffia around your wreath gluing it in place. Attach your paper roses sticking decorative stick pins through the center of the rose into the wreath. Attach ribbon or lace around the top of your wreath to hang it with. Enjoy your spring wreath! (PPA, PVA, cardstock, and paper raffia are available at the store)

P.S. Watch for great Mother’s Day/Graduation sales coming up and our facebook contest!

Tuesday, November 8, 2011

November Newsletter!

Cherry Blossom Paperie’s November Newsletter!
Thanksgiving is approaching and it reminds me of the many things I’m thankful for. Thankful that the fall weather has lasted this long and thankful for you, such encouraging and inspiring customers! Lots going on this month including the Holiday Preview on November 20th. Although, if you’ve been in the store lately, you know that our holiday preview has already begun! 
November 11th: Vintage Christmas Cards Class! Various techniques, vintage and vintage-inspired supplies provided! $15.00, 7:00-9:00pm
November 19th: Demonstration on making paper ornaments at the library.
November 20th: Holiday Preview from 1:00-5:00pm
November 29th: 4-5 year old Children’s Art Class! $7.50, all materials provided. 4:30-5:30pm. (Last Thursday of every month, except it’s Tuesday this month because the last Thursday is ThanksgivingJ).
November 30th: 6-8 year old Children’s Art Class! $7.50, all materials provided. 4:30-5:30pm. Last Wednesday of every month.
                *We will be open until 8:00pm on the first four Thursdays of December.
Our DIY project this month is the paper tree cutouts featured in our front window. If you are too busy this holiday season to make your own, we also have some for sale in the shop. If you don't subscribe to our newsletter, email lacey@cherryblossompaper.com for the pattern. Cut out the shape (for larger ones enlarge at 125% on a copy machine). Fold sheets of cardstock (available in our store) in half lengthwise. Trace one tree shape onto each sheet of cardstock, aligning the fold line of the pattern with the folded edge of the cardstock. On an appropriate cutting surface, use a craft knife or very sharp small scissors to cut through both cardstock layers on the traced lines. Open up the tree shapes (at least 2) and layer one over the other. Sew the trees together down the center fold with thread and a needle or a sewing machine. Position the tree halves at right angles to each other to stand the trees upright.
 
<

Wednesday, July 13, 2011

July Newsletter!

Cherry Blossom Paperie’s July Newsletter
It’s Summertime! Summer always seems to turn out to be much busier than I expect, but it’s a good kind of busy! Here is our schedule:
Now-July 31st: Celebration Sale! 20% off of wrapping paper and party supplies and 30% off of Landstrom’s Black Hills Gold!
Now-July 27th: Children’s Art Classes every Wednesday 3:00-4:00pm, $10 per class includes supplies and materials
July 14th: Altered Book Photo Frame Class 7:00-9:00pm, $27 includes materials
August 25th: Rescheduled Alcohol Ink Class 7:00-9:00pm, $25 includes materials
Also, our upstairs is now open. We have some new items from some of our consigners and also more pieces that we have made/altered.

         
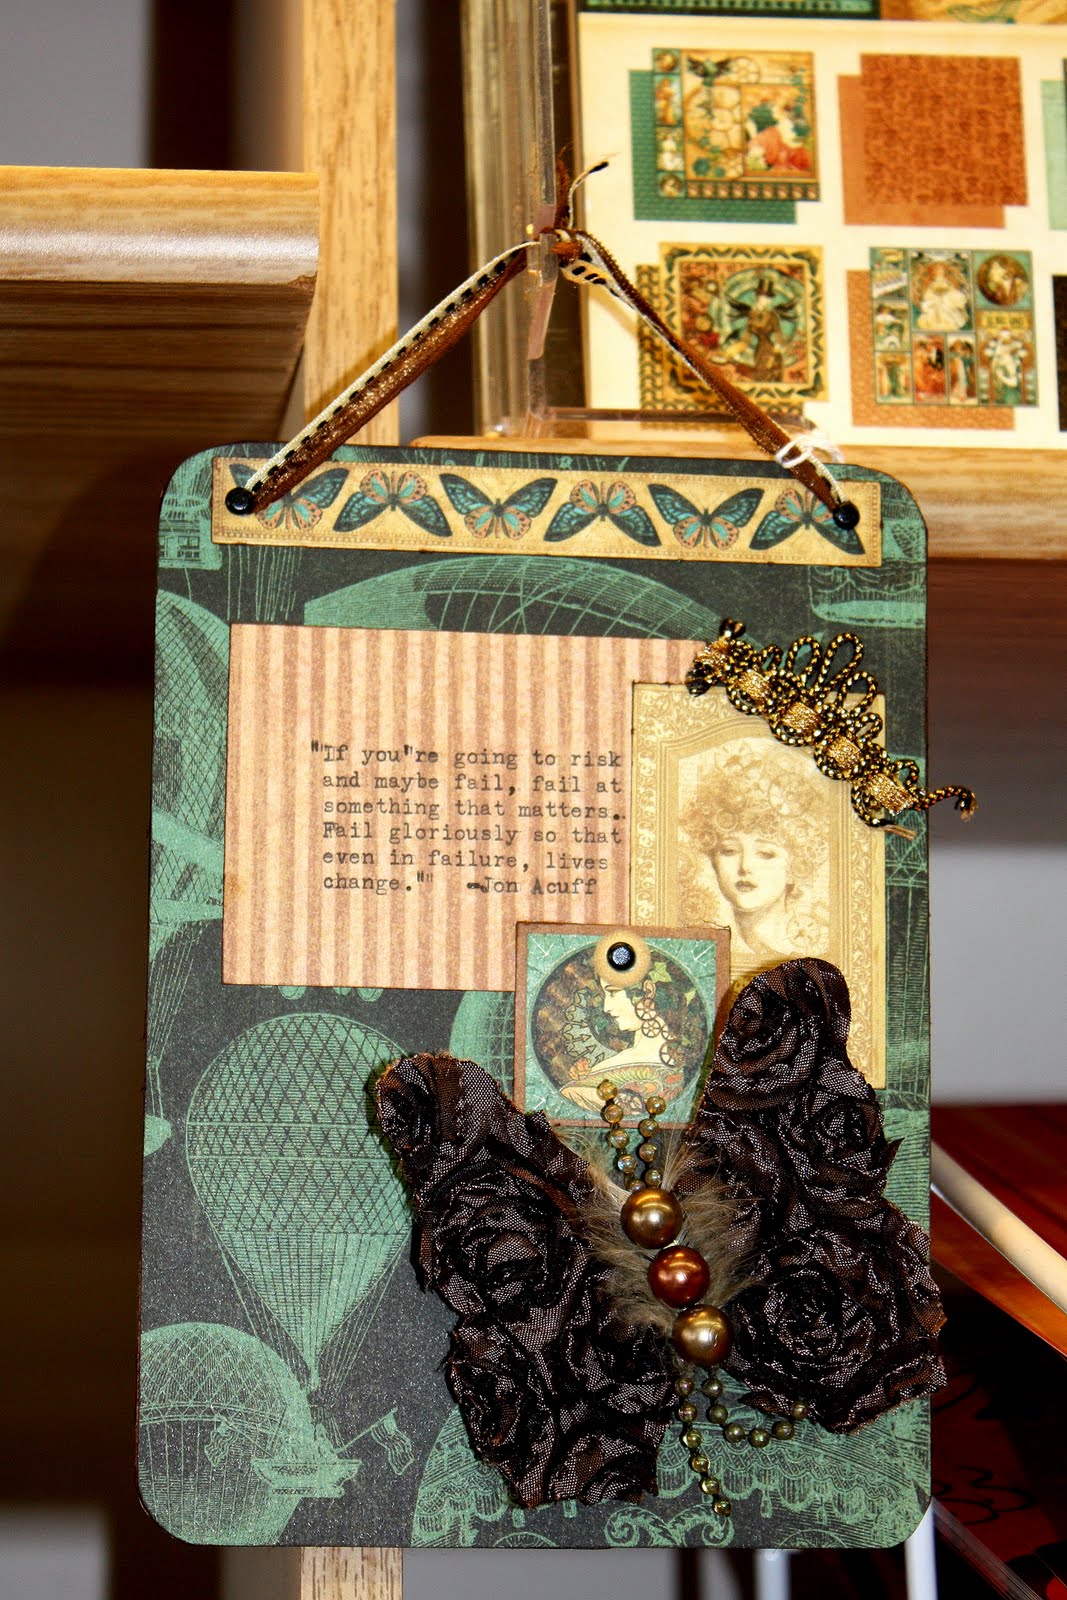
What in the world is Steampunk?  In the past couple of years I’ve been coming across some very interesting artwork and designs that seem to draw me in if for no other reason than curiosity. Whimsical hot air balloons and old gears and machines intertwined with Victorian lace and roses that is somehow futuristic and antique at the same time, and is definitely imaginative. It draws in the part of me that likes science-fiction and fantasy for its creativeness, and the part of me that likes Victorian design for its elaborate beauty. And while some of it is a little too weird for me J, I love Graphic 45’s “Steampunk Debutante” paper pack. And we have already made some fun things with it!
      

For more ideas on just about anything crafty, Lizzy Kartchner writes a great blog called “Dear Lizzy” and it’s our featured blog for this month. She also has a wonderful book out with Scrapbooking ideas that we are currently carrying in our shop. Check out her blog here: http://elizabethkartchner.blogspot.com/search/label/scrapbooking/
Hope that you are having an awesome summer filled with fun and relaxation!
Don’t forget to “like” us on facebook or follow us on twitter @cbpaperie for more up-to-date info. Thanks!

Saturday, April 9, 2011

April Newsletter

Sorry if this is a little redundant to those of you that read the blog, get the newsletter, and have liked us on facebook!
Welcome to Cherry Blossom Paperie’s April Newsletter!
Spring is finally here! I’m spending as much time outside as possible, can’t wait to get the chance to take photos of baby animals and all the exciting changes that spring always brings. I’m also looking forward to the wonderful Easter holiday. I hope you are too, because we have some great Easter project ideas! And lots of exciting things going on at the shop! But first, thanks to everyone that made our Grand Opening such a wonderful day and for the great classes we’ve had. You guys are awesome! We really appreciate you and are inspired by your creativity.
Here is our calendar of events:
April 16th: Free Crop Party! 3:00-6:00pm. Come use our tools and machines and be inspired by other paper crafters as you work on your project. There are still some spaces available. Also, if you’ve never seen Tim Holtz’s Vagabond die cutting and embossing machine in action, now is the perfect opportunity!
April 18th: Mother’s Day and Graduation Sale begins!
May 10th: Embossing Techniques Class! 7:00-9:00pm.We will make an altered art clipboard and tags using different kinds of embossing techniques. $25.00 (Includes a clipboard, 2 tags, one bottle of embossing powder, and 2 papers of your choice)
May 21st: Free Crop Party! 3:00-6:00pm.
So, if you read my blog or Cherry Blossom Paperie’s facebook page, you already know that I’ve become pretty impressed with the Webster’s Pages company. I was so surprised that the sister of the main designer and owner was the person that emailed me back when I opened an account with them. It’s become pretty rare to see large companies have a small family-run feel. In reading their blog and dealing with them business-wise, I’ve seen nothing but absolute kindness. And I love their products, so it’s a win-win! They also have a great place on their website to post your own photos of projects you’ve created using their products. It’s an awesome place to go to be inspired or to inspire others. Check it out here. Here are a few of the Webster’s Pages products available in our store:

About those Easter ideas… I know I linked to Paper Crave last month, but they have some great ideas again this month! I love the Easter egg garland made out of paint chips! So, to see all the great ideas they’ve found, click here. Another idea I love is to use natural dyes for Easter eggs. You’d be surprised what a little vinegar and beet juice can do to an egg (or maybe I’m just discovering something you’ve known about for years!). Anyway, here are some natural dye recipes (boil eggs in dye with a teaspoon of vinegar):
Color
Ingredients
Lavender
Small Quantity of Purple Grape Juice
Violet Blossoms plus 2 tsp Lemon Juice
Red Zinger Tea
Violet Blue
Violet Blossoms
Small Quantity of Red Onions Skins (boiled)
Hibiscus Tea
Red Wine
Blue
Canned Blueberries
Red Cabbage Leaves (boiled)
Purple Grape Juice
Green
Spinach Leaves (boiled)
Liquid Chlorophyll
Greenish Yellow
Yellow Delicious Apple Peels (boiled)
Yellow
Orange or Lemon Peels (boiled)
Carrot Tops (boiled)
Celery Seed (boiled)
Ground Cumin (boiled)
Ground Turmeric (boiled)
Chamomile Tea
Green Tea
Golden Brown
Dill Seeds
Brown
Strong Coffee
Instant Coffee
Black Walnut Shells (boiled)
Black Tea
Orange
Yellow Onion Skins (boiled)
Cooked Carrots
Chili Powder
Paprika
Pink
Beets
Cranberries or Juice
Raspberries
Red Grape Juice
Juice from Pickled Beets
Red
Lots of Red Onions Skins (boiled)
Canned Cherries with Juice
Pomegranate Juice
Raspberries

Happy Easter!