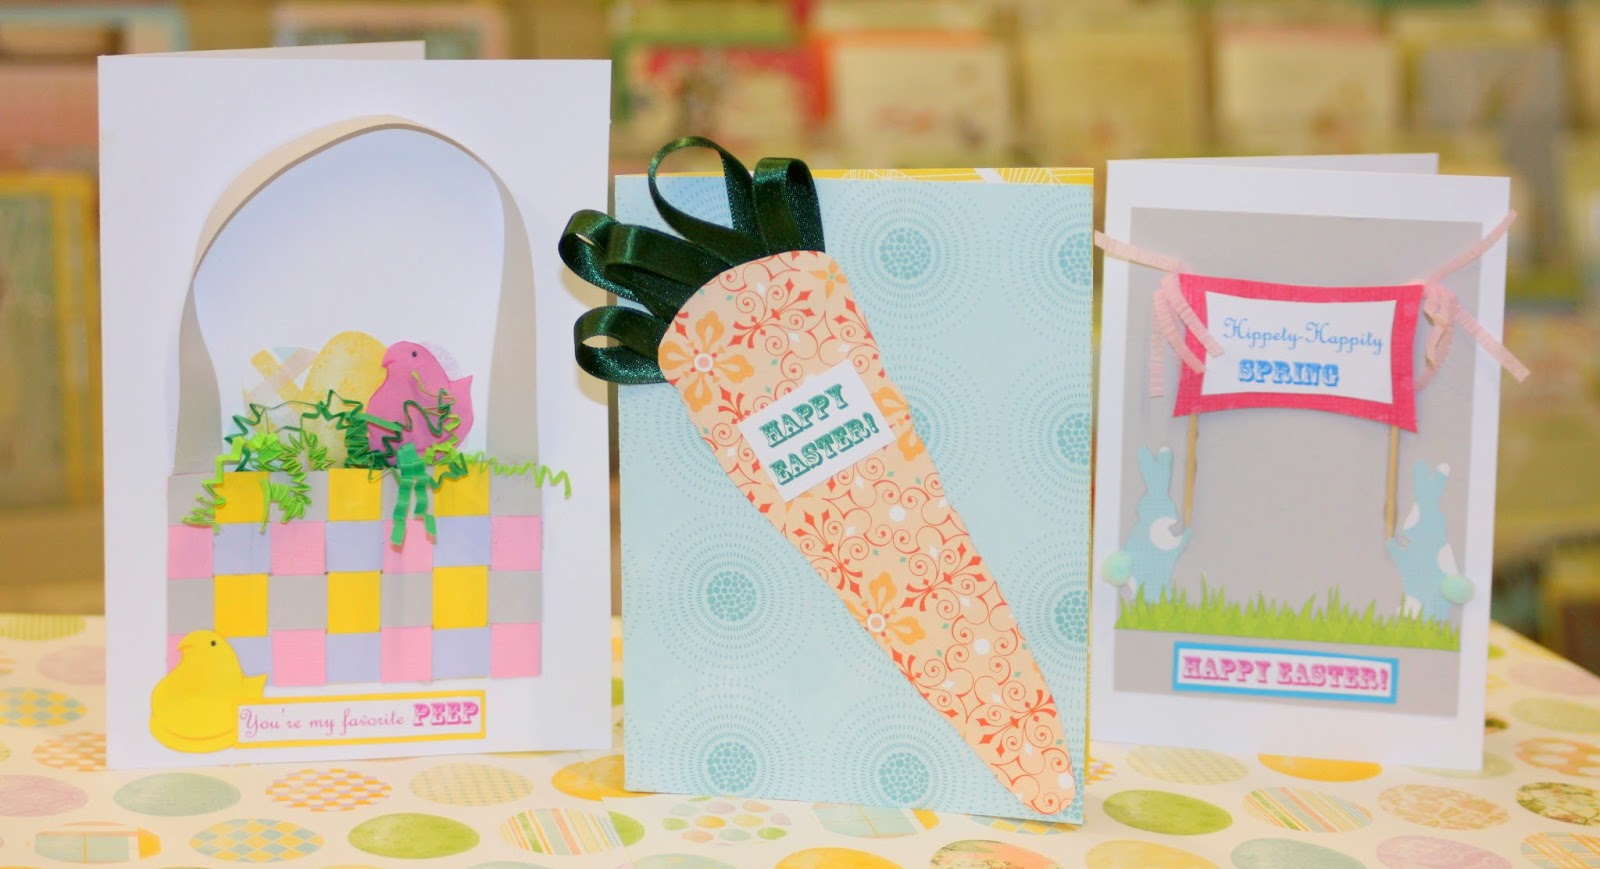
It's almost spring! And we've got spring fever, how about you? So we've planned lots of fun springy classes and events. And it starts this Saturday with presentations at the Scrappin' and Pinnin' for the Cure. March 8th, we will be giving a presentation on how to make fortune cookie favors at 10:00am and one on making paper tulips at 2:00pm out at the fairgrounds.
March 25th: 6-10 year old Children’s Art Class! $7.50 per class per child, $6.00 per child if you have more than one child in your family taking classes, all materials provided. 4:30-5:30pm (last Tuesday of every month except on holidays)
March 27th: 4-5 year old Children’s Art Class! $7.50 per class per child, $6.00 per child if you have more than one child in your family taking classes, all materials provided. 4:30-5:30pm (last Thursday of every month except on holidays)
March 29th: Mid-Plains Paper Bouquet Class. $30, all materials provided. Make a beautiful paper flower bouquet! Learn how to create various types
of paper flowers, wiring and wrapping stems, and arranging into a
bouquet. 10:00am-12:00pm. To sign up, please contact Mid-Plains at 402-376-8033 or email at conradt@mpcc.edu
April 8th: Easter/Spring Cardmaking Class! Lots of spring card designs, patterns, and tutorials for adorable handmade cards. All materials provided, $15.00. 6:00-9:00pm.
May 13th: Altered Art Vintage Door Plate Class! Learn various techniques for altering and embellishing a vintage door plate to create a beautiful hanging art piece. $30, all materials provided. 6:00-9:00pm.
Our DIY this month is a cute felt shamrock. Great to make hair clips, headbands, pins, or embellish cards and paper crafts with. And its very simple.
First, draw a row of 3 "m" shapes on green felt.
Cut out the m's along your lines, only going down about 3/4ths of the way in between so that they are still attached together. If you would like, fold the first m over and cut around it using it as a pattern to cut out the other m's. Next, use an embroidery needle and floss to sew loose stiches across the bottom.
Then pull both sides of the thread tight, scrunching up the felt to form your shamrock. Tie the floss in a knot at the bottom.
Cut off the strings if you are going to glue it on, otherwise use them to tie it around a headband, hair clip, etc. So many possibilities. I attached mine to an elastic headband.
My m's for the smaller bright green shamrocks were about 1 inch tall. For the larger shamrock, I used dark green felt with glitter in it and drew the m's about 2 inches tall. Then I added some gems for a little extra sparkle. :)
We hope you have a great month, and a wonderful spring season!