Saturday, July 13, 2013

July Newsletter!

It's hotter than a pepper sprout out there, and we have some hot news for you!
July 18th, 25th, and 30th: 4-5 year old Children’s Art Class! $7.50 per class per child, $6.00 per child if you have more than one child in your family taking classes, all materials provided. 4:30-5:30pm 
August 3rd: Crazy Day! Come check out our great sales and free face painting from 10:00am-1:00pm!
August 9-11th: Come visit us out at the Big Tent at the fair: prizes and more!
August 22nd: Paper Cone Flower/Wreath Class! Learn how to make a decorative paper flower wall hanging out of book pages. All materials provided, 6:00-9:00pm. $30.00

August 27th: 6-10 year old Children’s Art Class! $7.50 per class per child, $6.00 per child if you have more than one child in your family taking classes, all materials provided. 4:30-5:30pm (last Tuesday of every month except on holidays)
August 29th: 4-5 year old Children’s Art Class! $7.50 per class per child, $6.00 per child if you have more than one child in your family taking classes, all materials provided. 4:30-5:30pm (last Thursday of every month except on holidays)

Make Your Own Drink Umbrellas

Our DIY this month is great for those outdoor summer parties. Not only do they look adorable, but if you use them on a straw and slide them down to the top of your cup, they will also help keep the bugs out of your drink. And they're extremely simple to make. I traced around the bottom of a solo cup and cut out the circle with decorative scissors. 
Then I cut a line in to the center of the circle (if you want this exact, you will have to use a compass instead of a cup :-)). Cut another line into the center, cutting a triangle out of your circle. The wider your triangle, the more "tented" your umbrella will be.
Next punch a hole in the center of your circle and overlap the edges of your triangle, gluing the paper together.
Your punched hole will probably be smaller than your straw. This works well because when you force the straw through, your umbrella will fit tightly on the straw and stay in place.
Enjoy!


Monday, June 17, 2013

June Newsletter!

Wow, June is so flying by. I almost can't believe it. We hope you are having lots of fun, enjoying summer activities (when it's not raining :)). We are having lots of fun here at the shop and can't wait to share our news with you!
June 18th, 25th: 6-10 year old Children’s Art Class! $7.50 per class per child, $6.00 per child if you have more than one child in your family taking classes, all materials provided. 4:30-5:30pm 
July 11th, 18th, 25th, and 30th: 4-5 year old Children’s Art Class! $7.50 per class per child, $6.00 per child if you have more than one child in your family taking classes, all materials provided. 4:30-5:30pm 
We are planning on having the children's art show in September, so we are hoping parents can bring back in some pieces for the show by then.
Also, just fyi, I would love to do private art lessons with older kids and adults if anyone is interested.  
Adult art and craft project classes will start back up in August.
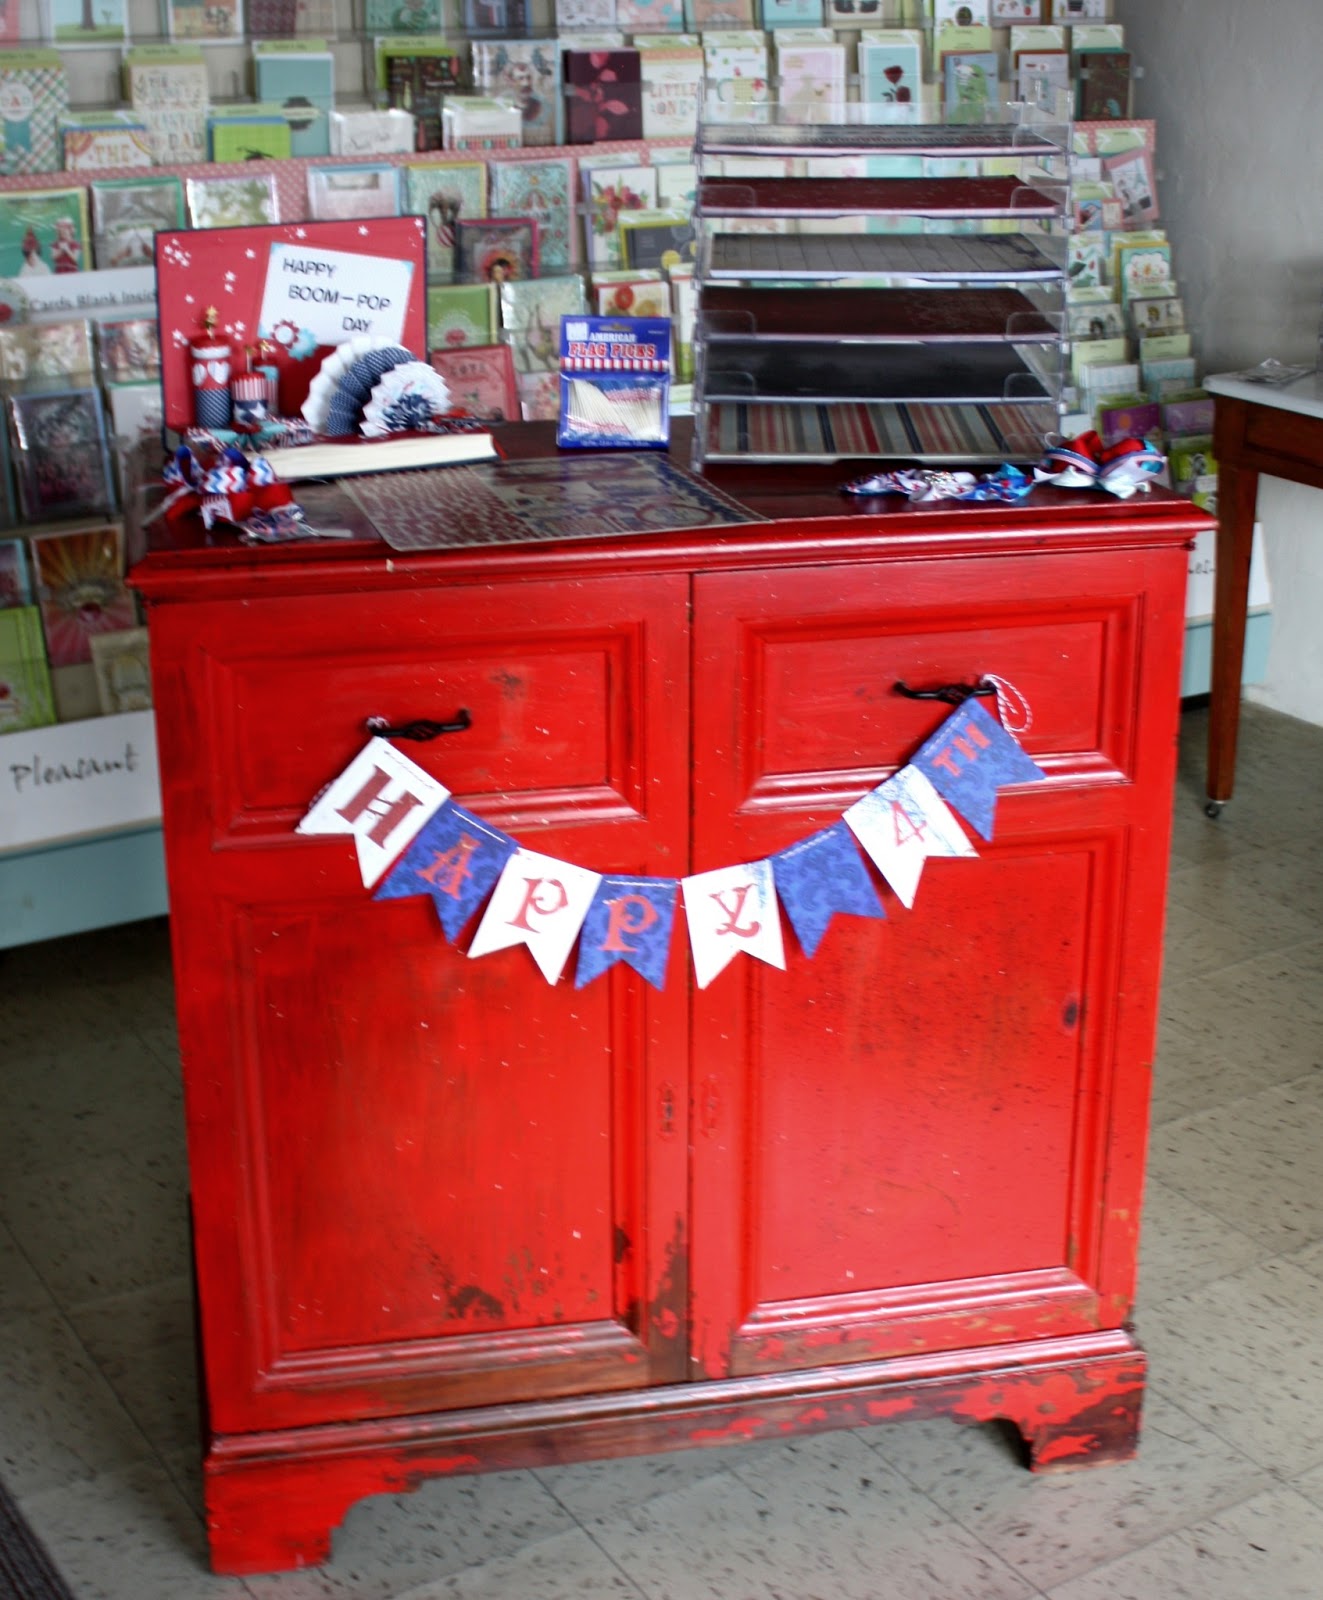
We have some very cute 4th of July papers in at the shop :). Mom made this adorable centerpiece with some of the papers.

Our DIY this month is on how to make decorative fireworks. It helps to start with a tube of some sort. The plastic center of a tape roll, a narrow wrapping paper roll, or empty spool. If it's a wrapping paper roll, start by cutting it down to the height you want. Cut some cute patriotic paper in a strip the height of your tube. Glue it onto the tube, wrapping it around as you go. Next cut a circle out of red tissue paper. Make your circle slightly bigger than the top of your tube. Run a line of glue around the top of your tube. Place your tissue circle on top of your tube and fold the edges down onto your line of glue. For the wick, we used white floral wire, stuck it down into the tissue, and glued a gold star on top. And voila!

Saturday, June 15, 2013

Baby Ties, Pillow Boxes, and Furniture

Just wanted to post photos of a few of our new items at the shop. I've had some requests for baby ties and small gift boxes and they've been on my to do list for a while so it feels good to get some done.
I tried the bow tie one on my 6 month old nephew and it looked so adorable I almost didn't want to put it out for sale :)
I've been meaning to make these for about a year now. :-o We've had quite a few people ask for small gift boxes for gift cards, certificates, and small items like jewelry and I kept thinking that I should make these. Finally did a custom one the other day for a customer and it spurred me on to make some more :)

And of course, I have to show off some of our new furniture pieces. The small writing desk/secretary is already sold, but I love the vintage wallpaper I used on it so I wanted to post it anyway. :) I have been waiting for the perfect piece to use it on and was finally able to. I still have some of it left, so I'll be keeping a look out for another piece it will work on.

A new dresser that Mom did that is just gorgeous!
And finally, a piece that we have been working on for a long time. Such a cool piece, but it needed a ton of repair work. Not something we normally like to do, but this piece was just too cool to pass up :)


Thursday, June 6, 2013

Succulents and Etsy Items

My love for succulents is growing, if that's possible. I already adored them. I think it started about 6 or 7 years ago when my mom planted a succulent container garden at her house and we poured over books with gorgeous photos of brilliantly colored succulents. One of those books was "Designing With Succulents" by Debra Lee Baldwin.
I highly recommend it if you are at all interested in succulents, or even just beautiful photography. Available here on Amazon. That love grew when I visited Phoenix during springtime. Along with the blooming cacti, there were a variety of gorgeous succulents.
And I've been just loving all the succulent wedding bouquets I've seen lately and succulent wedding stationery. All of this, inspired me to create my own succulent stationery. I drew a combination of succulents onto a rubber stamp block and then carved out the image. I used two or three different colors of inks to ink the stamp and ended up with these:
I'm very happy with them :). The yucca plant was a stamp I had made earlier and decided to have some fun with again. So these are up on Etsy here. And I also made a few new bridal hair flowers.
Feels good to get a few more things up on Etsy. :) Hopefully more to come!


Monday, May 20, 2013

A few new things

I haven't posted any new items for awhile, so thought I'd post these even though some have been in the shop for a couple of weeks. It's hard to keep up with sharing all of the new things we've made, and of course there are more in the works already!

Some new pretties...
Chalkboard, corkboard window with shelf
Milk Painted table

Repurposed Planter

Yarn pom summer banner

So much fun! 


Sunday, May 12, 2013

May Newsletter!

It's May! And it seems to be slipping by so fast! Confession: I haven't even had a chance to mow my lawn yet :-o. But we're so excited for everything that is going on at the shop! So here's the schedule:
May 28th: 6-10 year old Children’s Art Class! $7.50 per class per child, $6.00 per child if you have more than one child in your family taking classes, all materials provided. 4:30-5:30pm (last Tuesday of every month except on holidays)
May 30th: 4-5 year old Children’s Art Class! $7.50 per class per child, $6.00 per child if you have more than one child in your family taking classes, all materials provided. 4:30-5:30pm (last Thursday of every month except on holidays)
During June we will have classes for 6-10 year olds each week on Tuesday and no classes for 4-5 year olds. During July we will have classes for 4-5 year olds each week on Thursday, except no class on the 4th. Instead we will have a class on Tuesday, July 30th. No classes for 6-10 year olds during July. Classes will resume as normal in August. 

May 16th: Washi Tape Party! $20.00. 6:00-9:00pm. Although the sign up for this class has already passed, I did order in a few extra sets of washi tape, so contact me ASAP if you are interested in coming!

Our DIY this month is something I've been putting off trying for a long time.I love all the cute yarn poms I've seen decorating pillows as yellow dandelions, put together as a tiny garland from two wood skewers over a cake, decorating papercraft projects, or intermixed with larger ones to make a garland. They just seemed a little too time consuming to try to make. I finally decided to make some and I'm so glad I did! The little ones actually only take a few minutes to make. Of course, I may have went a little overboard with the wreath. It did end up using a lot of yarn and being pretty time consuming all together, but it was very fun to make!
So, to start: Pick out your colors of yarn and start making yarn poms in various sizes. Here is how to make a yarn pom:
Start by wrapping yarn around something. I used a fork, two of my fingers, and various sizes of stiff pieces of cardboard I cut out. They all worked fine, but you will need various sizes to make your poms various sizes. If you are using your fingers be careful not to pull too tightly and cut your circulation off! Wrap the yarn around the object a gazillion times. I'm pretty sure that is the most accurate way to describe it :). It needs to be nice and thick on there so that it will make a full looking pom.
Cut off the tail and slide it off of whatever object you used.
Take another piece of yarn and tie it tightly around the middle of your loops.
If you are doing the wreath project make sure you leave a tail from your knot. Then cut down the center of one side of loops. If you have wrapped your yarn a gazillion times, this will take some muscles.
Cut through the middle of the other side of loops.
If your poms are anything like mine, they will look a little like a muppet with a very bad hair day at this point. Simply give him a hair cut, trimming off the longer strings sticking out.
Now for the wreath: Take a wire hanger and bend it into a heart shape. It doesn't have to be perfect but as even on each side as you can get it. Then simply tie your poms on tightly and push them close together to hold them in place. It took about 29 poms to make my wreath. Then cut off their tails and you're done!

P.S. Happy Mother's Day, and congratulations to all grads! Moms, you're the best! (Mine in particular may be the best of all time! :)) Grads, the world awaits you!


Sunday, April 21, 2013

New

A few new items in our shop...


Tuesday, April 16, 2013

We Are Crazy About Washi Tape!

We are crazy about washi tape. Isn't everybody? Loving some of the new Webster's Pages washi tapes we just got in, and some of our favorite standbys (Martha Stewart and Tim Holtz to name a few)!
A few projects we've done with washi tape lately...

Gearing up for our Washi Tape Party on May 16th!


Friday, April 12, 2013

April 2013 Newsletter!

So much snow...but warm days are coming! Even snow showers bring May flowers :) So we hope we are sending out bright thoughts of flowers and sunshine today with our newsletter. We are excited to share our news with you!
April 25th: 4-5 year old Children’s Art Class! $7.50 per class per child, $6.00 per child if you have more than one child in your family taking classes, all materials provided. 4:30-5:30pm (last Thursday of every month except on holidays)
April 30th: 6-10 year old Children’s Art Class! $7.50 per class per child, $6.00 per child if you have more than one child in your family taking classes, all materials provided. 4:30-5:30pm (last Tuesday of every month except on holidays)
FYI: During June we will have classes for 6-10 year olds each week on Tuesday and no classes for 4-5 year olds. During July we will have classes for 4-5 year olds each week on Thursday, except no class on the 4th. Instead we will have a class on Tuesday, July 30th. No classes for 6-10 year olds during July. Classes will resume as normal in August. Also, we are wanting to have an art show to display the children's artwork to the community.  We will start saving back some of their pieces for this and you may also bring in past work they have done in class.
May 16th: Washi Tape Party! $20.00. 6:00-9:00pm. Curious about what the big deal about washi tape is? Or maybe you love it and just haven't had a chance to really work with it? It's so fun and easy to use to decorate projects with that we decided it deserves its own party! The party comes with a set of 3 washi tapes, blank tiles to cover and use as coasters, a clipboard and use of our chalkboard paint, and some papercraft supplies. We have tons of ideas for how to use washi tape and will be sharing those as well! We are asking that you prepay for this event by May 6th and pick out which set of washi tapes you would like us to order by then.
...And there may even be cake! :)
cork plantersOur DIY this month is not from us, but it's too adorable not to share! We LOVE succulents and tiny things, so it's easy to see why we love these. Tiny magnetic cork planters with succulents in them! To read the full tutorial, please go here: Cork Planters from Upcycle That
We hope you are having a lovely day!